
CSS 101
CSS is a stylesheet language that controls the look and feel of HTML documents. It enables web designers to apply styles (such as fonts, colors, spacing, and layout) to web pages, making them visually appealing and user-friendly.
Step 1: How CSS Works
CSS works by selecting HTML elements and applying styles to them. These styles can be defined inline within the HTML document, internally within the `<style>` element in the HTML `<head>`, or externally in separate CSS files. When a web browser renders an HTML document, it interprets the CSS rules and displays the content accordingly.
<!DOCTYPE html>
<html>
<head>
<title>CSS Sample</title>
<link rel="stylesheet" href="externally_separate.css">
<!-- Internal Style Start -->
<style>
.internally_style {
color: maroon;
margin-left: 40px;
}
</style>
<!-- Internal Style End -->
</head>
<body>
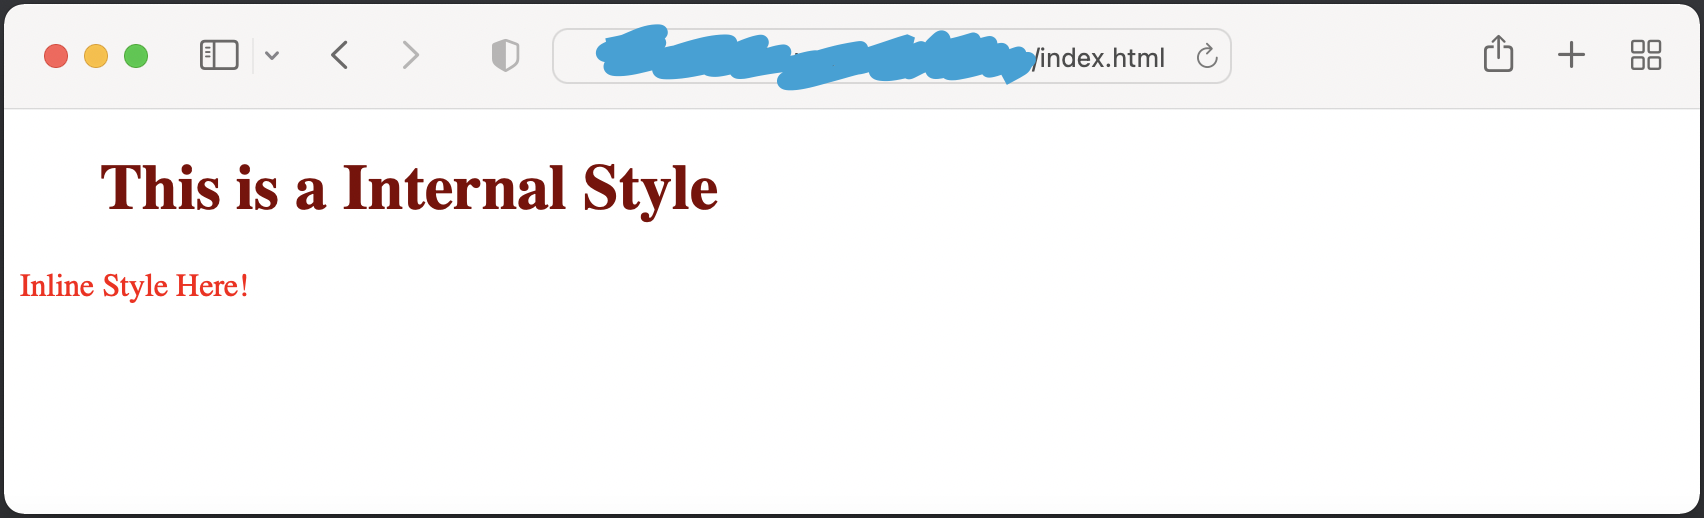
<h1 class="internally_style">This is a Internal Style</h1>
<p style="color: red;">Inline Style Here!</p>
</body>
</html>
Step 2: Basic CSS Syntax
selector {
    property: value;
}
- Selector: Targets HTML elements to style
- Property: Specifies the aspect of the element to style (e.g., color, font-size, margin)
- Value: Defines the value for the specified property (e.g., red, 16px, 20px auto)
.internally_style {
    color: red;
    font-size: 14px;
    margin-left: 40px;
}
Step 3: Types of Selectors
- Element Selector: Targets HTML elements (e.g.,
`p { }`styles all`<p>`elements) - Class Selector: Targets elements with a specific class attribute (e.g.,
`.example { }`) - ID Selector: Targets a specific element with a unique ID attribute (e.g.,
`#uniqueElement { }`) - Descendant Selector: Styles an element that is a descendant of another specified element (e.g.,
`div p { }`) - Pseudo-class Selector: Styles elements in a specific state (e.g.,
`a:hover { }`styles links when hovered)
<!DOCTYPE html>
<html>
<head>
<title>CSS Sample</title>
<style>
p {
color: red;
}
.example {
color: purple;
}
#uniqueElement {
margin-left: 40px;
}
div p {
color: green;
}
</style>
</head>
<body>
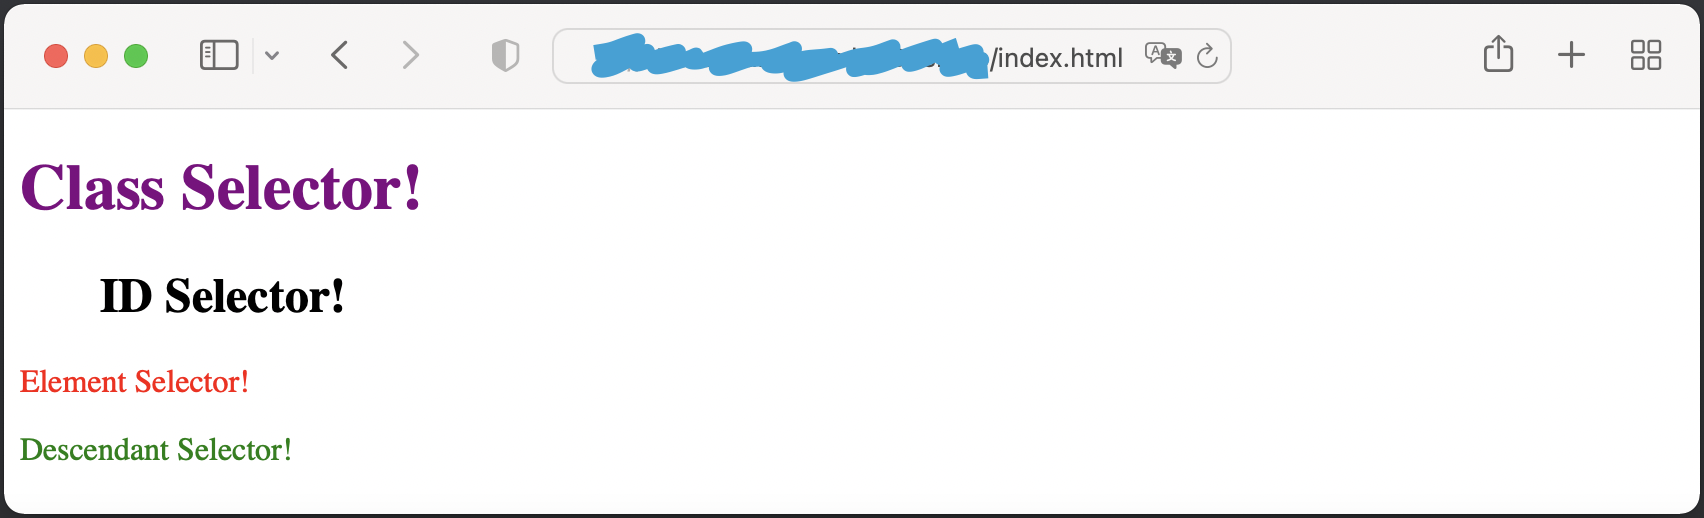
<h1 class="example">Class Selector!</h1>
<h2 id="uniqueElement">ID Selector!</h2>
<p>Element Selector!</p>
<div><p>Descendant Selector!</p></div>
</body>
</html>
Step 4: Box Model
The CSS box model describes the spacing and layout of elements on a web page. It consists of:
- Content: The actual content of the box, where text and images appear
- Padding: Clears space between the content and the border
- Border: A border surrounding the padding (if any) area
- Margin: Clears space between the border and adjacent elements
Step 5: CSS Layout
CSS provides various layout techniques, including:
- Flexbox: Allows the design of complex layouts and aligns items within containers
- Grid: Defines layout areas in terms of rows and columns
- Floats: Positions elements to the left or right within their parent container
Step 6: Responsive Design
CSS enables responsive web design, allowing pages to adapt to different screen sizes and devices. This is achieved through media queries, flexible grid layouts, and flexible images.
Conclusion
Understanding CSS is essential for web development, as it provides the means to create visually appealing and responsive websites. By mastering CSS basics and its advanced features, web designers can create seamless user experiences across various devices and screen sizes.